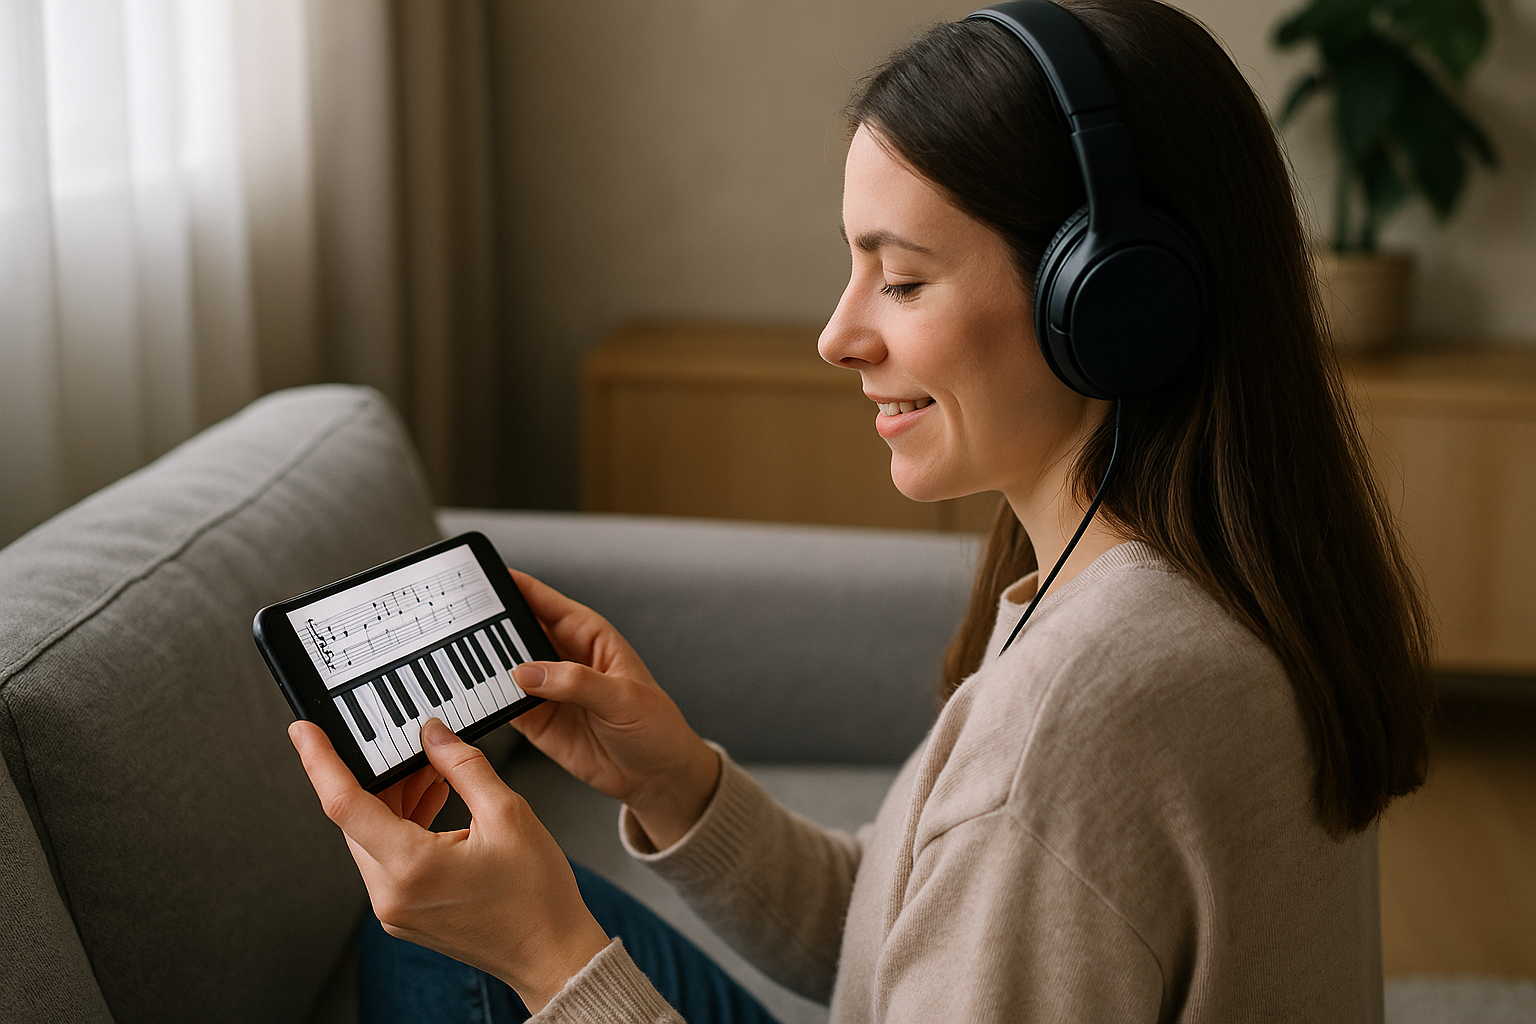
🎹 Build a Piano App with Flutter Using VS Code (Tested on Android Device)
Flutter is an excellent toolkit for building mobile apps — and in this tutorial, you'll create your very own piano app using Flutter, VS Code, and a real Android device connected via USB.
By the end, you'll have a fully working app that plays piano sounds when you press keys on the screen — just like a digital keyboard.
🧰 Prerequisites
Before you start, make sure you have:
✅ Flutter installed:
flutter doctor
✅ VS Code with Flutter & Dart extensions installed
✅ Android phone with Developer mode + USB Debugging enabled
✅ USB cable to connect the device
✅ Some piano note .wav files (provided below)
📁 Step 1: Create a New Flutter Project
Open your terminal and run:
flutter create piano_app

cd piano_app

code .
This will open your project in VS Code.
📦 Step 2: Add Dependencies
Edit your pubspec.yaml to include:
dependencies:

  flutter:

    sdk: flutter

  audioplayers: ^5.2.0
flutter:

  uses-material-design: true

  assets:

    - assets/c1.wav

    - assets/d1.wav

    - assets/e1.wav

    - assets/f1.wav

    - assets/g1.wav

    - assets/a1.wav

    - assets/b1.wav
🎵 You’ll need .wav files named like c1.wav, d1.wav, etc. Place them in a folder called assets/.
🗂️ Step 3: Add Piano Sounds
Create a folder:
mkdir assets
Add your .wav files to it (you can get free ones from this GitHub repo).
💻 Step 4: Write the App Code
Replace lib/main.dart with:
import 'package:flutter/material.dart';

import 'package:audioplayers/audioplayers.dart';
void main() => runApp(PianoApp());
class PianoApp extends StatelessWidget {

  final player = AudioPlayer();
  void playNote(String fileName) {

    player.play(AssetSource(fileName));

  }
  Widget buildKey(String label, String fileName) {

    return Expanded(

      child: GestureDetector(

        onTap: () => playNote(fileName),

        child: Container(

          margin: const EdgeInsets.all(1),

          color: Colors.white,

          child: Align(

            alignment: Alignment.bottomCenter,

            child: Padding(

              padding: const EdgeInsets.only(bottom: 8),

              child: Text(

                label,

                style: const TextStyle(fontSize: 16, fontWeight: FontWeight.bold),

              ),

            ),

          ),

        ),

      ),

    );

  }
  @override

  Widget build(BuildContext context) {

    return MaterialApp(

      debugShowCheckedModeBanner: false,

      home: Scaffold(

        backgroundColor: Colors.black,

        body: SafeArea(

          child: Row(

            crossAxisAlignment: CrossAxisAlignment.stretch,

            children: [

              buildKey('C1', 'c1.wav'),

              buildKey('D1', 'd1.wav'),

              buildKey('E1', 'e1.wav'),

              buildKey('F1', 'f1.wav'),

              buildKey('G1', 'g1.wav'),

              buildKey('A1', 'a1.wav'),

              buildKey('B1', 'b1.wav'),

            ],

          ),

        ),

      ),

    );

  }

}
🔌 Step 5: Connect Your Android Device
-
On your phone, enable:
-
Developer Options
-
USB Debugging
-
-
Plug in your device via USB.
-
Run:
flutter devices
You should see your device listed.
🚀 Step 6: Run the App
Now run:
flutter run
Choose your device when prompted (if needed). The app will build and install on your Android phone.
🎉 Done!
Now you have a working piano app! Tap each key on your screen and hear it play.
🧹 Optional: Clean Up Project Before Sharing
If you want to share the code (without big build files), run:
flutter clean

zip -r piano_app.zip piano_app -x "**/build/*" "**/.dart_tool/*"
🚀 Bonus Ideas
-
Add black keys (C#1, D#1, etc.)
-
Add multiple octaves
-
Animate keys when tapped
-
Host as a Flutter Web app
📁 Sample Assets
You can get .wav files for piano notes here:
🔗 GitHub - parisjava/wav-piano-sound
💬 Final Thoughts
Flutter + VS Code + Android device = your mobile piano app! 🎹




0 Comments